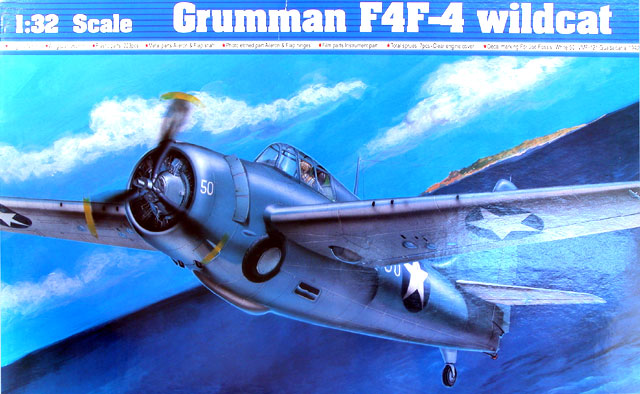
1:32 Trumpeter F4F-4
Wildcat
Work in Progress Part 2
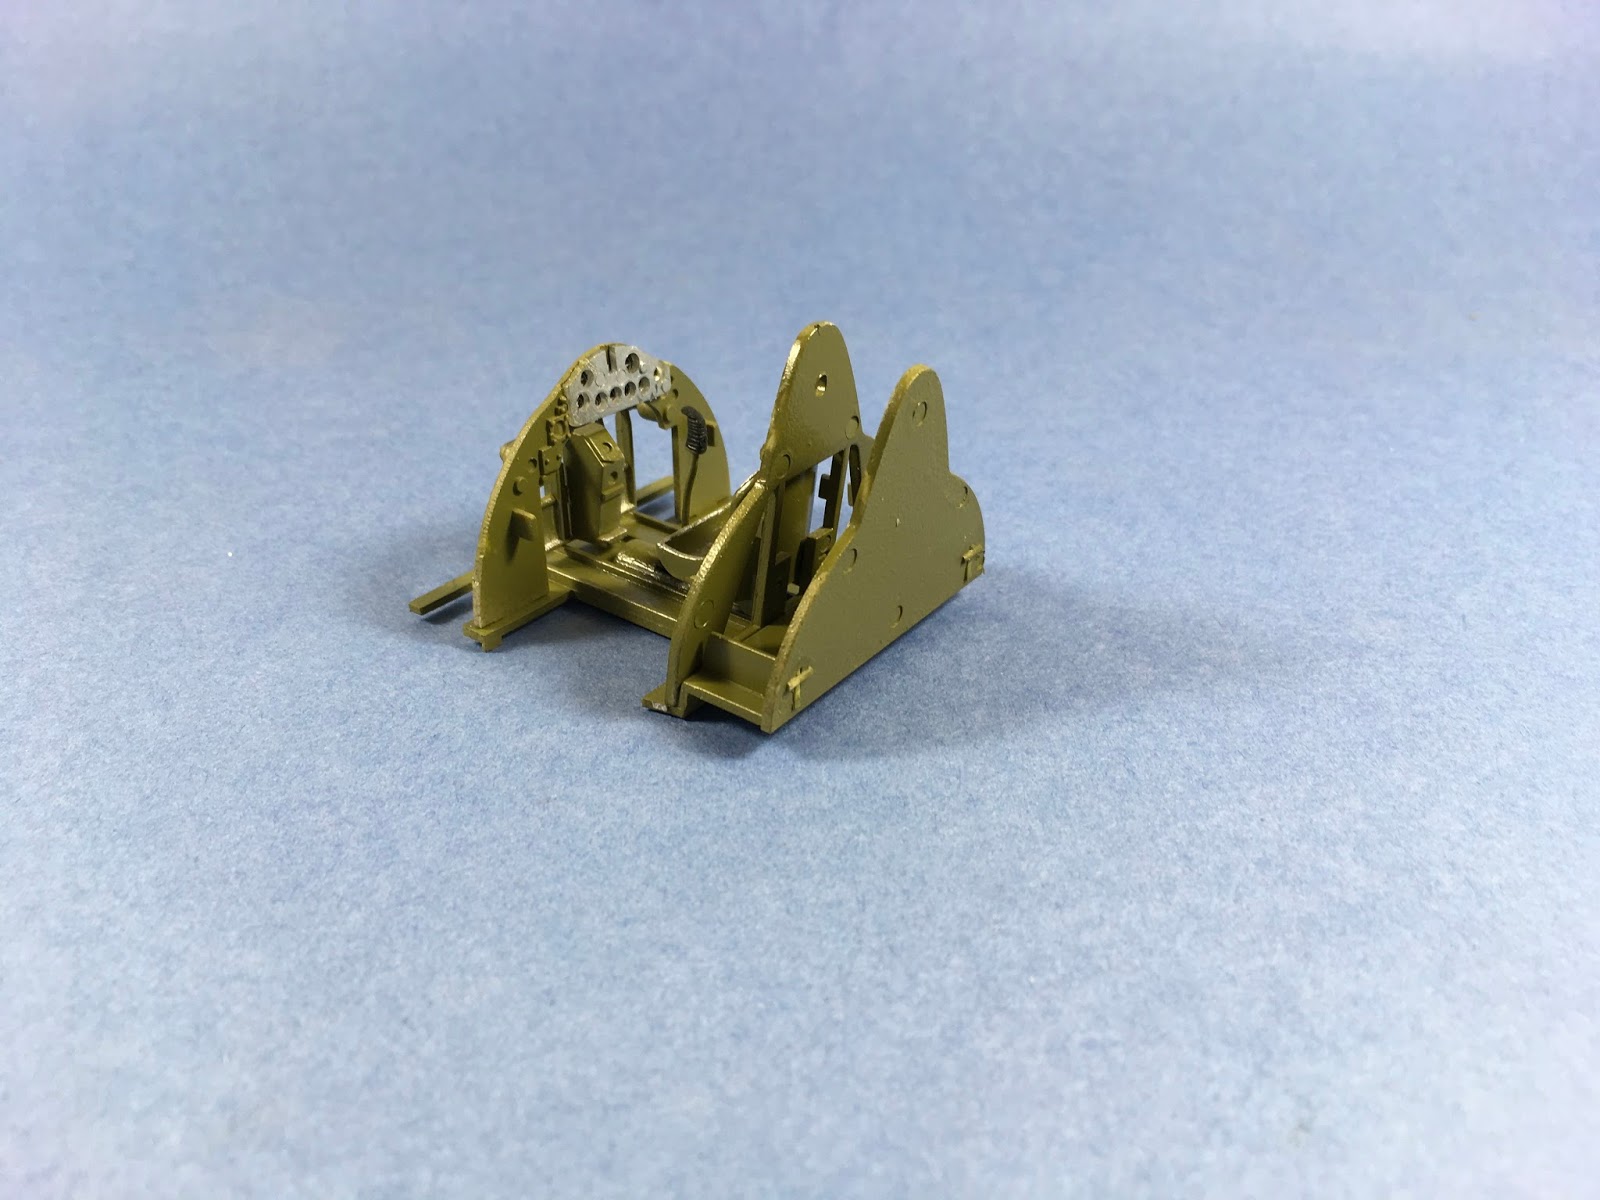
Today's efforts was aimed at finishing off the cockpit and starting the engine assembly. The morning was mostly taken up with assembling the HGW seat harness and adding it to the cockpit.


I am aware that the harness should go over a bar above the seat. However, the bar is moulded to the bulkhead and I'm not that good scratch building 😟
Next I worked on the cockpit side pieces, I've had to guess at the colours of buttons, knobs and levers (Trumpeter would have you paint them all 'steel' and leave it at that!).


I'm quite pleased with the way the cockpit has turned out.
Next I moved onto the engine, (Once again the Trumpeter instructions a woefully inadequate in the painting guide.) So I have copied the colours from some reference photos a friend sent me.

I still have the cylinder heads to attach and I will be adding the ignition leads using lead wire. That will be started the next time I get back to the bench.