Started this the other day and been working on it on bits as I've been able to get to the bench.
This is primarily being built for a weathering demonstration I have been asked to do but Paul of Modelling Tools for his Extreem Weathering Show in late May. Although I'm an occasional armour modeller this is going to be new territory for me, never having demonstrated any of my modelling techniques to anyone.
The version I'm building which is the same as the box art requires Zimmerit, which Tamiya don't provide but they do provide instructions on making your own with putty and a straight edge!
This was my attempt. I thought it looked a bit patchy but when looking at Zimmerit in photos it was not perfect, so I'm hoping my effort will past muster.
After starting on the road wheels and trying out AK interactive/Meng's German Tank colours the Zimmeritt looks okay to me. Anyway this is as far as I have got to date. (And yes I know I have the rubber rims to do). More soon.
After a prolonged break due to a poorly laptop and a loss of 'mojo' there is a update on progress.
I'm glad to report that the engine is now finished and weathered.
I also got the engine mount finished and weathered
Then the whole lot along with the finished cockpit was added to the fuselage.
Finally the fuselage halves where put together.
This project is now on hold as I have to get another build started so that it's ready for a weathering demonstration I have been asked to give at a local model show.
With the arrival of the new interceptors, Anakin began using this star-fighter instead of his yellow Delta-7B. He flew his Eta-2 in numerous battles during the closing days of the Clone Wars, proving time and again his superiority as a pilot. Often at his side was his former Master, Obi-Wan Kenobi, Although he was impressed with Anakin's skill, Obi-Wan often remarked on Anakin's reckless piloting. Obi-Wan and other Jedi were also concerned about Anakin's obsession and possessive attitude toward the ships he had for personal use. Saesee Tiin, however, often encouraged the young Jedi Knight to continue making modifications and enhancements to his ships.
The Invisible Hand was a modified Providence class Star Destroyer and one of GeneralGrievous'sflagships and was the command ship for the Battle of Coruscant. It was during this assault that Anakin used his interceptor's weapons to disable the Hand's hangar shields. Anakin with Obi-Wan then crash-landed their ships inside that starship'shangar bay, After a protracted assault fought by Anakin and Obi-Wan the Invisible Hand was destroyed after it plummeted into the atmosphere of Coruscant.
It is from the above engagement that I have based this build.
The kit is Revell's 1:53 offering and is a really simple kit. So much so it is very nearly a snap together kit, but for £5 what more can you ask?
I have painted it with a mix of Vallejo and AK Interactive paints and weathered with Mig Ammo washes.
The base is a square of MDF donated by Sean of Topnotch Models, again painted using Vallejo and AK Interactive using a screen grab from the Star Wars Film The Revenge of the Sith as a guide.
Today's efforts was aimed at finishing off the cockpit and starting the engine assembly. The morning was mostly taken up with assembling the HGW seat harness and adding it to the cockpit.
I am aware that the harness should go over a bar above the seat. However, the bar is moulded to the bulkhead and I'm not that good scratch building 😟
Next I worked on the cockpit side pieces, I've had to guess at the colours of buttons, knobs and levers (Trumpeter would have you paint them all 'steel' and leave it at that!).
I'm quite pleased with the way the cockpit has turned out.
Next I moved onto the engine, (Once again the Trumpeter instructions a woefully inadequate in the painting guide.) So I have copied the colours from some reference photos a friend sent me.
I still have the cylinder heads to attach and I will be adding the ignition leads using lead wire. That will be started the next time I get back to the bench.
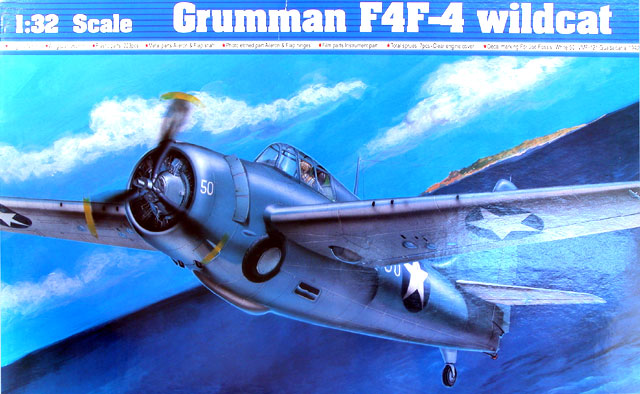
I picked this kit up in a deal at my local kit swap just before Christmas. It very quickly became the kit in my stash that I really wanted to build.
Having built a Trumpeter kit before I know that the decals can be a little on the thick side so I opted to go for some after market decals. After a browse on the Interweb I settled on decals from Techmod.
Whilst I was in I buying mood I also picked up a Mondex Mask set for the canopy and because the kits has neither moulded or Photo Etch seat harnesses I opted for a set of HGW. I've used these before and love the look of them. Realising that I have no suitable paint I once again opted for MR. Paint.
I quickly taped the two fuselage halves together to get an idea of the overall size of the model.
I realised that the six inch square space on my bench wasn't going to be enough space to build in so first job was to clear the bench 😀
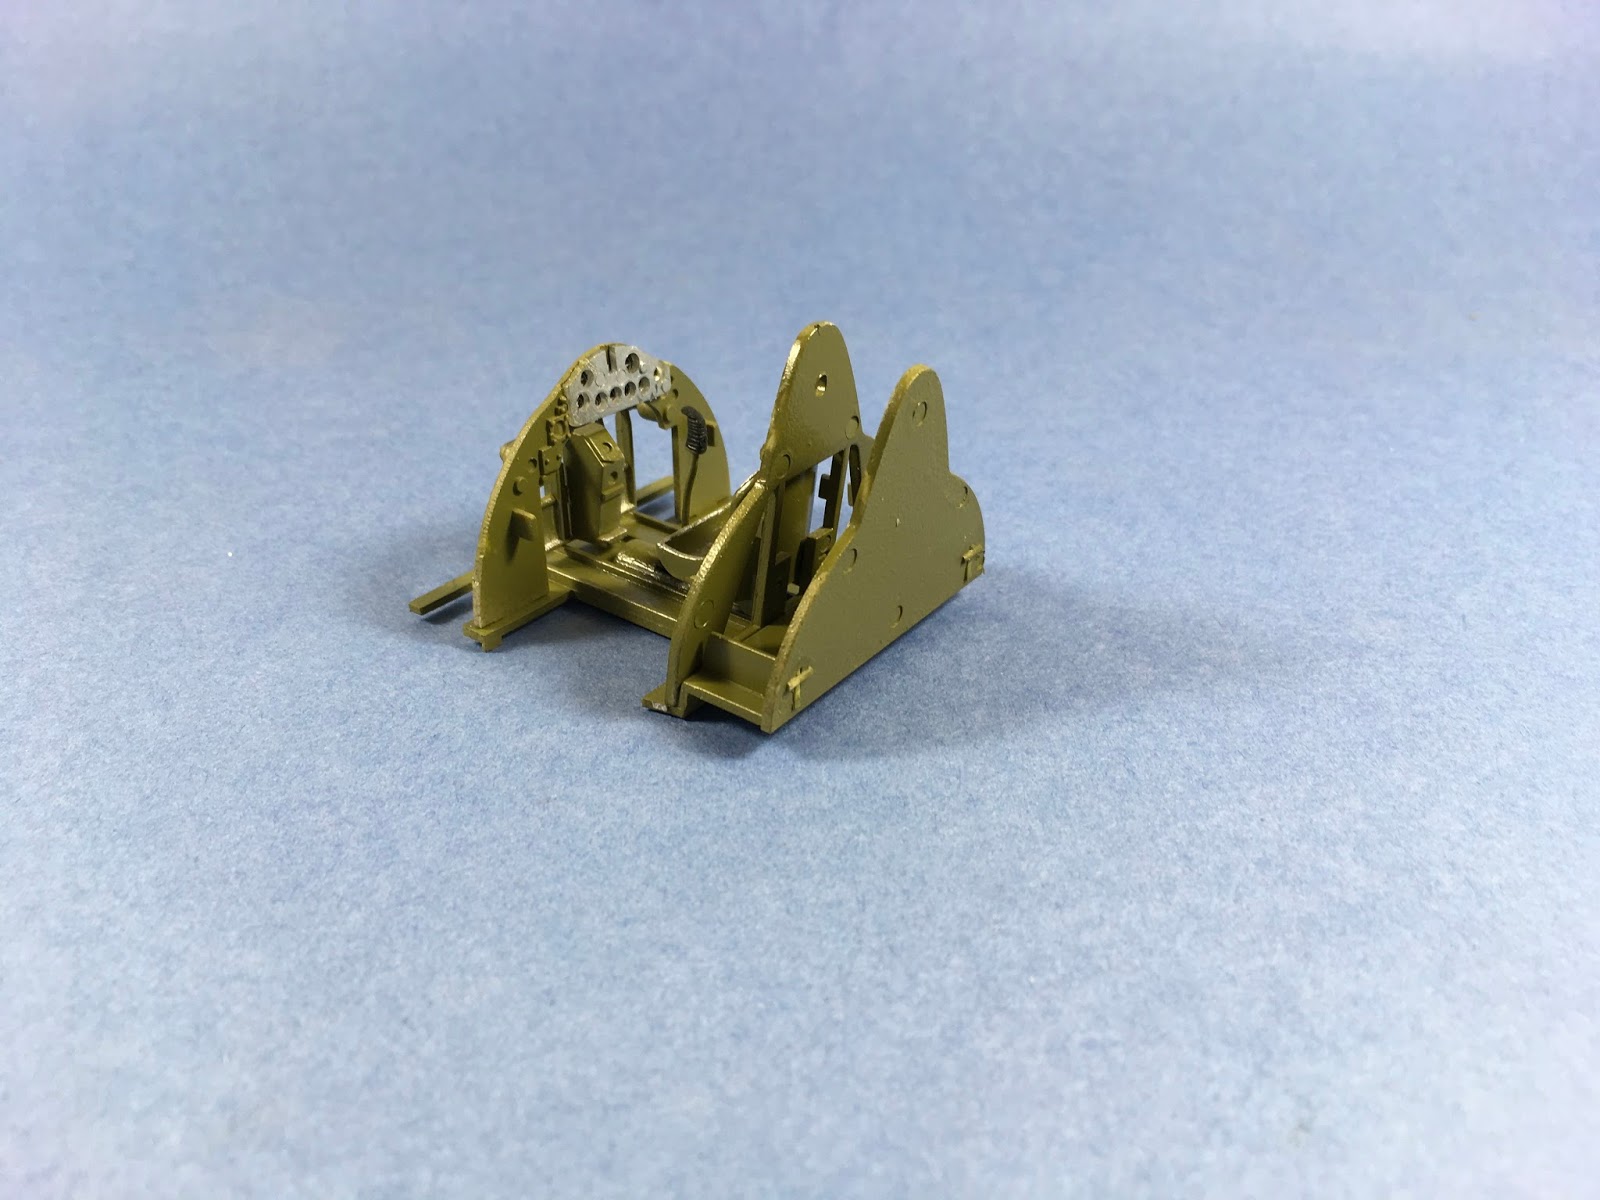
Bench cleared it was time to start building. Like most kits construction starts with the cockpit. As I started construction I noticed that the instructions is sadly lacking in the painting guide department! So research is the order of the day.
Construction of the basic cockpit of the Wildcat is really simple and the parts go together well, albeit there is not a lot of detail 😒
Next I'll add the HGW harness, side panels and weather the cockpit a bit more
Wednesday, 16 November 2016
Special Hobby
Tempest Mk. V
(Standard boxing)
The Hawker Tempest was arguably the best fighter aircraft used by the Royal Air Force in the Second World War. The Tempest was an improved derivative of the Hawker Typhoon, originally known as the Typhoon II, which was intended to overcome the Typhoon's problems of performance at higher altitudes by replacing the wing with a thinner laminar flow wing. After all the modifications the resulting aircraft greatly differed from the Typhoon, the powers that be chose to rename the aircraft, Tempest. The Tempest emerged as one of the most powerful fighters of the WWII and was the fastest propeller-driven aircraft of the war at low altitude.
Early 1943 saw a production line for the Tempest V established at Hawker's Langley facility. Production was initially slow, with blame being attributed to problems encountered with the rear spar.
In June 1943, the first production Tempest V, JN729, rolled off the production line and the maiden flight was made by test pilot Bill Humble. Several of the early production aircraft was used for experimental purposes; a number took part in extensive service trials at RAF (later RAE) Boscombe Down. These including the fitting of external stores, including 500 lb (227 kg) and 1,000 lb (454 kg) bombs and 3 in (76.2 mm) RP-3 rockets, very few Tempest Vs used these stores operationally during the War. In early April 1944, the Tempest V attained general clearance.
During the production of the first batch of 100 Tempest V "Series Is", which all carried the serial number prefix JNxxx, had several improvements were progressively introduced and were used on all following Tempest V "Series 2s", with carried the serial number prefixes EJ, NV and SN. The rear fuselage joint originally had twenty external reinforcing "fishplates", similar to those fitted to the Typhoon. However, it was not too long before the rear fuselage was strengthened and the fishplates were no longer needed. This meant that the rear fuselage became detachable. The first series of Tempest Vs had a built-up rear spar bulkhead assembly situated just behind the cockpit, which was adapted from the Typhoon. The small blisters on the upper rear wing root fairing covered the securing bolts. This was later changed to a lightweight assembly which connected to new spar booms; the upper wing root blisters were then replaced by small "teardrop" fairings under the wings.
The first 100 Tempest Vs were fitted with 20 mm Hispano Mk.IIs with had long barrels which projected ahead of the wing leading edges and were covered by short fairings. Later Tempest Vs switched to the short-barrelled Hispano Mk.Vs, where the muzzle was flush with the leading edges. The early Tempest Vs used Typhoon-style 34" x 11" five-spoke wheels, but most had smaller 30" x 9 " four-spoke wheels. The new spar of the Tempest V allowed for up to 2,000 lbs of external stores to be carried underneath the wings.
As in all mass-produced aircraft, there may well have been some overlap of these features as new components became available. In mid to late 1944 other features were introduced to both the Typhoon and Tempest: A Rebecca transponder unit was fitted, with the associated aerial under the portside centre section.
In spite of the Tempest V being the RAF's best low to medium-altitude fighter, it was not equipped with the new Mk IIC gyroscopic gunsight, as fitted in RAF Spitfires and Mustangs and one which considerably improved the chances of shooting down enemy aircraft.
Two Tempest Vs, were fitted with Napier Sabre Vs and experimented with several different Napier-made annular radiators, which resembled the ones used on was Tempest IIs. This configuration proved to generate less drag than the standard "chin" radiator, which meant an improvement in the maximum speed of some 11 to 14 mph. One of the test Tempests were later fitted with a ducted spinner, similar to that fitted to the Fw 190 V1. Another experimental Tempest V was fitted with a Vickers 47 mm "P" anti-tank gun, this development was never deployed in this layout.
Special Hobby's released this standard boxing of their Tempest Mk. V following on from their Hi-Tech boxing. The Hi-Tech boxing contained lots of resin and photo etch, whilst this boxing omitted the resin and PE, which should appeal to those modellers who do not like working with detailing parts and just want a standard kit, or to those modellers that want to add their own versions of after market parts which are begining to appear on the market this will allow the modeller to detail the kit to their own specification. This also means that the kit costs less for those modellers on a tighter budget The basic kit is the same as the hi-tech boxing with same detailed parts.
The build follows the tried and tested formula of constructing the cockpit first followed by the fuselage and wings. The cockpit as with the rest of the kit is well detailed. However, I would be very tempted to add some aftermarket seatbelts whether they be photo etch or fabric. The latter in my opinion look and lay more natural.
The level of drtailing can be seen from the following photos:
There are four markings options in this boxing, all share the same Ocean Grey/Dark Green camo
Schemes in the box are:
NV969 / SA-A No. 486 [NZ] Sqn RAF, Fasberg, Germany April 1945. Personal machine of Sqd Ldr Warren "smokey" Schrader,
JN862 / JF-z, No.3 Sqn RAF, RAF Station Newchurch August 1944. Full invasion striped carried.
EJ705 / W2-X No.80 Sqn RAF. Vokel, Netherlands Jan 1945, (only under fuselage stripes carried)
The supplied decals are on three sheets. The decals are printed by Eduard for Special Hobb. The register and colour are good as is the sharpness of the printing.
Conclusion
My thanks to Special Hobby who supplied this wonderful review kit.
The Genesis.XGi is the gravity fed version of the two latest airbrushes that showcase highlight Grex's continuing airbrush innovation. With this airbrush, they focused on ergonomics and adaptability. The design element is the ergonomic hand grip set that provides improved comfort and handling. It is specifically engineered for maximum adaptability by using the already wide selection of accessories available from Grex.
The first thing you will notice on opening the box are the bright (Grex) green, ergonomic finger grip and 'trigger' button cover. Once you pick up the airbrush, and believe me you will want to pick it up, it just falls naturally into your hand.
First impressions are; apart from the sheer quality that all Grex airbrushes exude, is of chunky and easy to hold airbrush. The shape of the ergonomic grip lends itself perfectly to the shape of your hand and it is immediately obvious the intended way to hold the airbrush.
In the above photo, you will see that I have quite large hands and long fingers, with the 7ml paint cup fitted my 'trigger' finger is quite cramped by the paint cup, so I have opted you use the XGi with the 'trigger' button ergonomic 'pad' removed. However, this is a personal choice and only made necessary by my larger hands and long fingers. With both the smaller 2ml and larger 15ml cups I don't have any problem.
So from the above you will have realised that the ergonomic parts are removable. Both for cleaning and should you decide to use the airbrush without them.
I ordered my airbrush with a 0.2mm nozzle and needle, however, Grex also supplies 0.3mm, 0.5mm and 0.7mm nozzle and needle sets. The needle and nozzle can be removed for cleaning or to change to a different size. This is done in the conventional way, by first removing the rear 'barrel', loosening the needle collet and then withdrawing the needle. Next you remove the nozzle cover and use the supplied spanner to loosen the nozzle, before unscrewing the nozzle and storing it so you don't loose it. The installation of a replacement needle and nozzle set is the reverse of the above.
In use:
I found the XGi very easy to use, and straight out of the box I was spraying very fine lines and patterns. the control of both air and paint on this double action airbrush is very precise and controllable. Although I have not tried it in anger, I think I could even spray WWII Italian Airforce 'smoke ring' camouflage. Probably at 1:72 as well.
The airbrush was comfortable to hold and after just a few minutes use I didn't notice the ergonomic grip. As the XGi is a 'conventionally' designed airbrush, I was able to get very close to the model especially with the supplied crown nozzle cap fitted.
Conclusion:
I already own a Grex Tritium.TG (review) and with the addition of the Genesis XGi I now have the flexibility of having the TG set up with a 0.3mm needle and nozzle for the spraying of larger parts and areas and the XGi set up with the 0.2mm needle and nozzle for smaller parts and finer detail. I have both set up with Grex quick release connectors so swapping between airbrushes in mid job couldn't be easier.
I am indebted to Sean Middleton of Top Notch Models the official UK agent for Grex airbrushes for his help and advice in the selection of this airbrush.